Derelict (Alien)
- Thread starter Vger1981
- Start date
You are using an out of date browser. It may not display this or other websites correctly.
You should upgrade or use an alternative browser.
You should upgrade or use an alternative browser.
Too bad the eggs will jump at you sometimes..! 
Sorry guys, no new pictures at the moment. I am in the final stages of the build. The model really flies together so quickly that I have spent several hours cutting out about 1000 triangles last night. I'd like to get it finished tonight in order to take some beauty pics tomorrow (I have half a day off and hope the weather is fine). CU later!
Sorry guys, no new pictures at the moment. I am in the final stages of the build. The model really flies together so quickly that I have spent several hours cutting out about 1000 triangles last night. I'd like to get it finished tonight in order to take some beauty pics tomorrow (I have half a day off and hope the weather is fine). CU later!
This is crazy.
Nope, simple maths... I had about 20 tube parts with 24 triangular flaps on either side, meaning about 960 little triangles between the flaps which had to be cut out..!
Well, sorry for that, but Giger just doesn't liked straight lines.. 
Holy frak, part 58 ... 
I'm watching TV at the same time I'm building, and after three episodes of "Bob Ross" in a row I'm STILL fighting with the part..! :fight:

I'm watching TV at the same time I'm building, and after three episodes of "Bob Ross" in a row I'm STILL fighting with the part..! :fight:
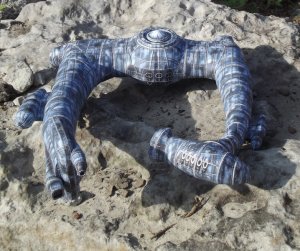
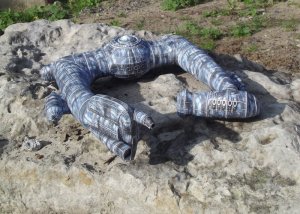
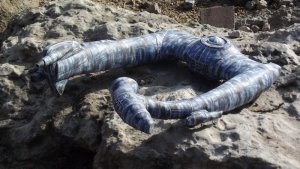
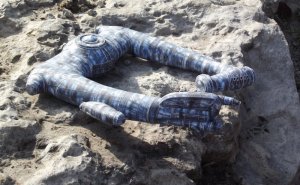
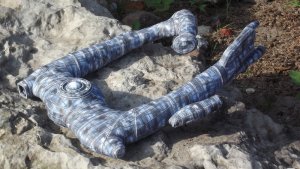
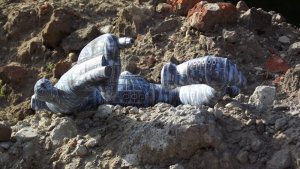
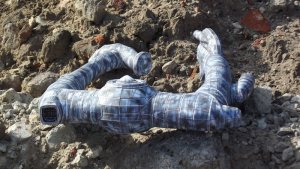
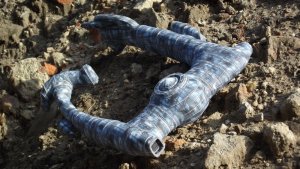
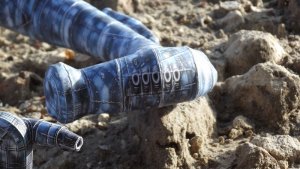
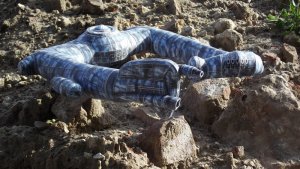
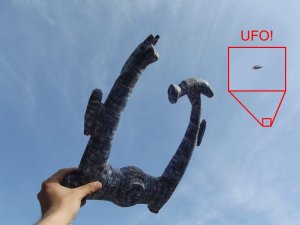
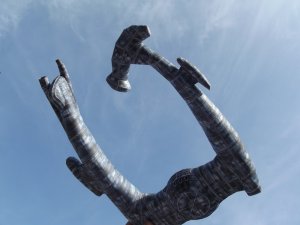
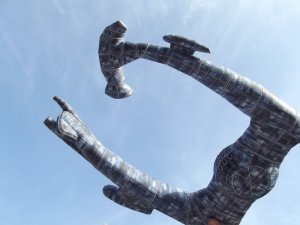
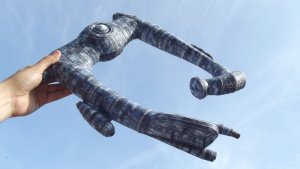
Alright folks, model is finished, looks nice, thread closed. Next one, please..!
:Coffee:


Sorry, I couldn't resist!
OK, now that I have some more time available I give you the next set of pictures.
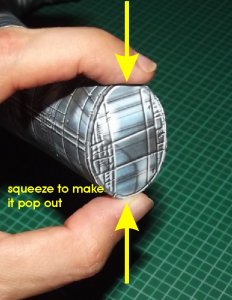
First, this is a small tip if you do the same mistake as I did with the cap: Just squeeze the end of the assembled tube
together and you'll be fine:
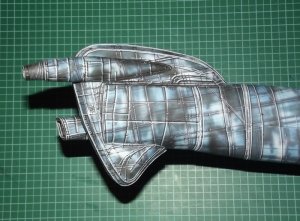
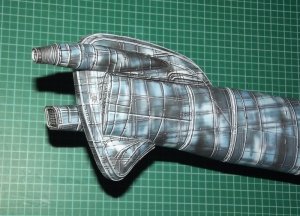
There are two tubes on the right head:
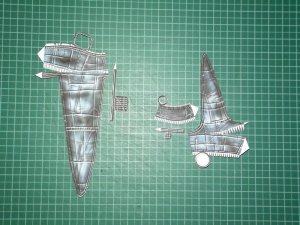
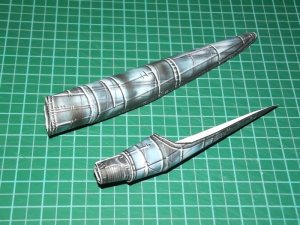
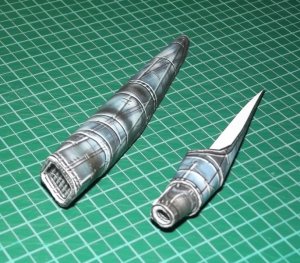
They look like two worms, eh?
The head is edge-glued to the right head.
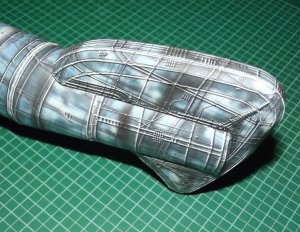
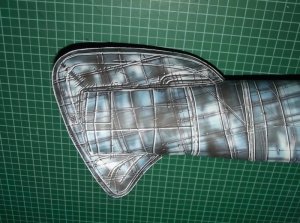
To make sure that you hit the right spots I'll give you some close-up shots of the parts in question.
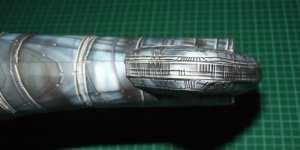
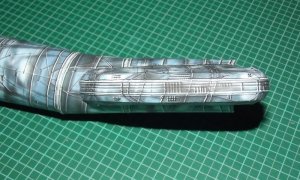
The "worms" are put into place:
:Coffee:
Sorry, I couldn't resist!
OK, now that I have some more time available I give you the next set of pictures.
First, this is a small tip if you do the same mistake as I did with the cap: Just squeeze the end of the assembled tube
together and you'll be fine:

There are two tubes on the right head:


They look like two worms, eh?
The head is edge-glued to the right head.

To make sure that you hit the right spots I'll give you some close-up shots of the parts in question.


The "worms" are put into place:


This is how the side greeblies look:
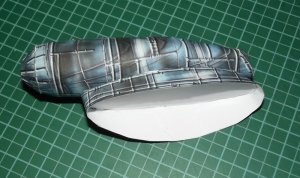
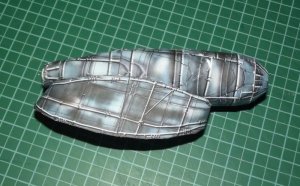
Maybe you notice some glossy area and a small spot which has lost its texture. My first assembly was flawed, I glued the pieces together the wrong way. The orthographic views Vger provided in the instructions showed me how to do it right. To save time (the model had to be finished that night, you might remember, because of the outdoor photo shoot) I cut off the "worm" and re-glued it to the arm at the correct position. I'll cover up the mistake later.
Now I'll continue with the left arm.
First I'll give you a step-by-step series of how to assemble the rear thruster. This assembly also shows how I built the forward pieces of the right arm worms.
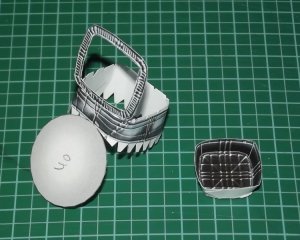
The glue tabs holding the outer rim of the thruster have been cut smaller in order to compensate for the thinness of the rim.
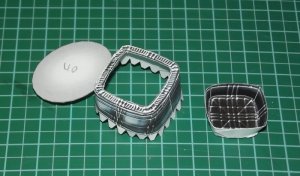
The recessed thruster piece was edge-glued to the rim before closing the part.
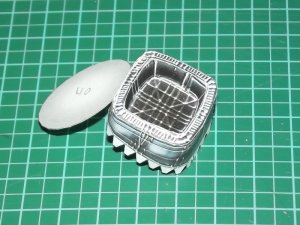
Then the part was closed. Work carefully and take your time.
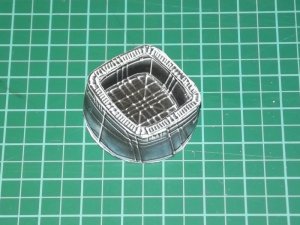


Maybe you notice some glossy area and a small spot which has lost its texture. My first assembly was flawed, I glued the pieces together the wrong way. The orthographic views Vger provided in the instructions showed me how to do it right. To save time (the model had to be finished that night, you might remember, because of the outdoor photo shoot) I cut off the "worm" and re-glued it to the arm at the correct position. I'll cover up the mistake later.
Now I'll continue with the left arm.
First I'll give you a step-by-step series of how to assemble the rear thruster. This assembly also shows how I built the forward pieces of the right arm worms.

The glue tabs holding the outer rim of the thruster have been cut smaller in order to compensate for the thinness of the rim.

The recessed thruster piece was edge-glued to the rim before closing the part.

Then the part was closed. Work carefully and take your time.

Last edited:
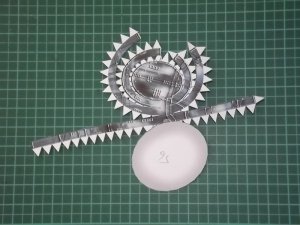
Part 56:
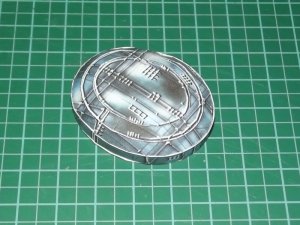
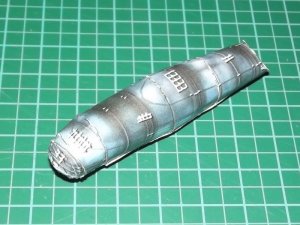
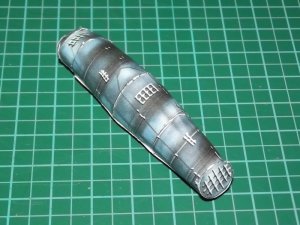
And part 58 which almost drove me nuts because it took the longest to assemble (mainly because of the curing time of the glue):
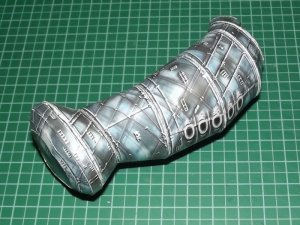
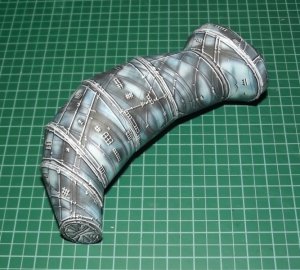
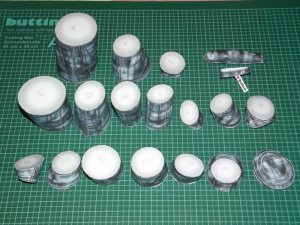
The rest of the arm consists of a number of cones. Their assembly is pretty much straight forward and was very fast:
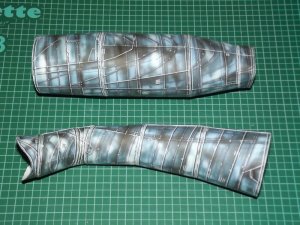
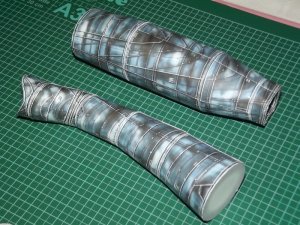
The risk of damaging or denting the tubes increases with its overall-length. So I found it easier to sub-assemble up to three neighbouring tube pieces instead of glueing all the tube parts together at once. Soon you will have these:
Which then will look like ... well ... this ...
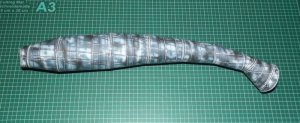
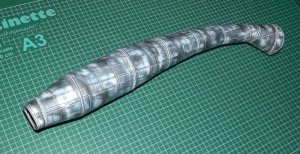
Horse pe***s/-- :eggonface: --------------- LEFT ARM complete.


And part 58 which almost drove me nuts because it took the longest to assemble (mainly because of the curing time of the glue):


The rest of the arm consists of a number of cones. Their assembly is pretty much straight forward and was very fast:

The risk of damaging or denting the tubes increases with its overall-length. So I found it easier to sub-assemble up to three neighbouring tube pieces instead of glueing all the tube parts together at once. Soon you will have these:


Which then will look like ... well ... this ...


Horse pe***s/-- :eggonface: --------------- LEFT ARM complete.

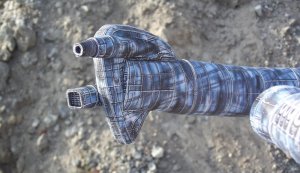
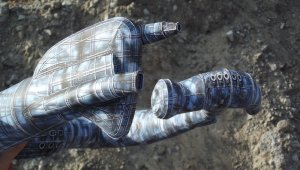
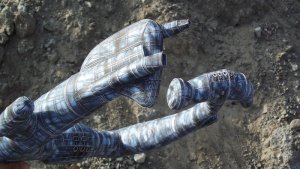
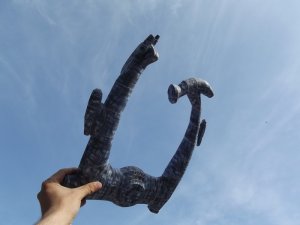
As always, you have done an AMAZING JOB on this build!
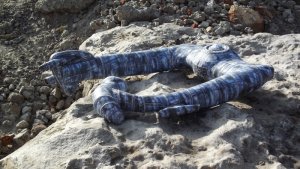
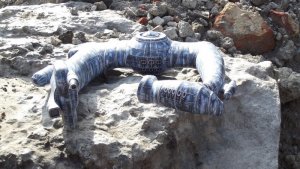
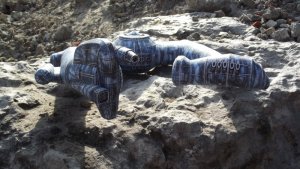
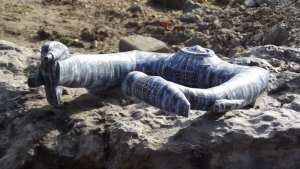
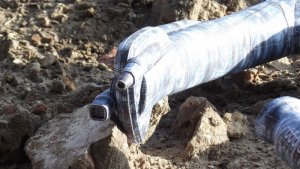
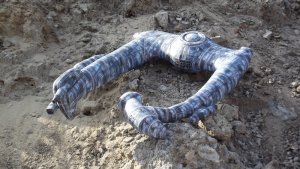
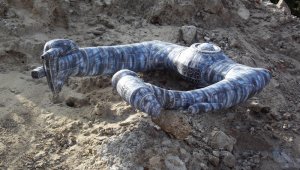
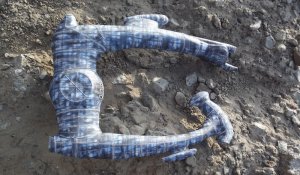
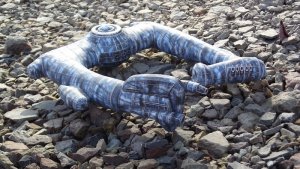
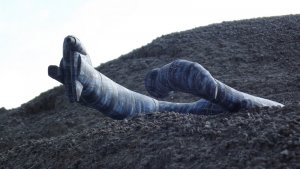
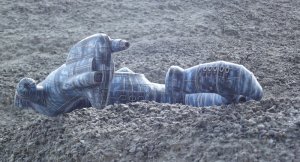
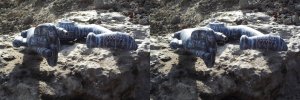
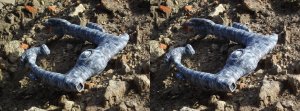
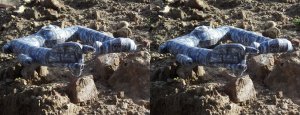
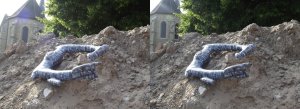
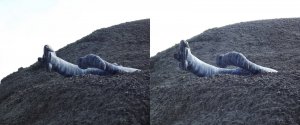
The 3-D images look GREAT as well! I also like the nature photos!
The 3-D images look GREAT as well! I also like the nature photos!
Not sure if I can say that, but yes, it looks really good! Great work and outstanding photos!
BIG thanks to you sir for your help and detailed guide!
:Bravo:
P.S.: Revell-Fan still keeps working on this baby, so I can make the final version and upload it here.
BIG thanks to you sir for your help and detailed guide!
:Bravo:
P.S.: Revell-Fan still keeps working on this baby, so I can make the final version and upload it here.
It got super nice I could use the Nostromo, which is a measure of A4 or A3


